Adjust a Ryobi leaf blower carburetor by locating the H (high) and L (low/idle) screws, which often require a Pac-Man carburetor tool. Gently seat both screws, then back out the H screw 1.5–2 turns and the L screw 1–1.5 turns. Warm the engine, fine-tune the L screw for smooth idle, then adjust the H screw at full throttle for strong performance without bogging.
Check Before You Adjust
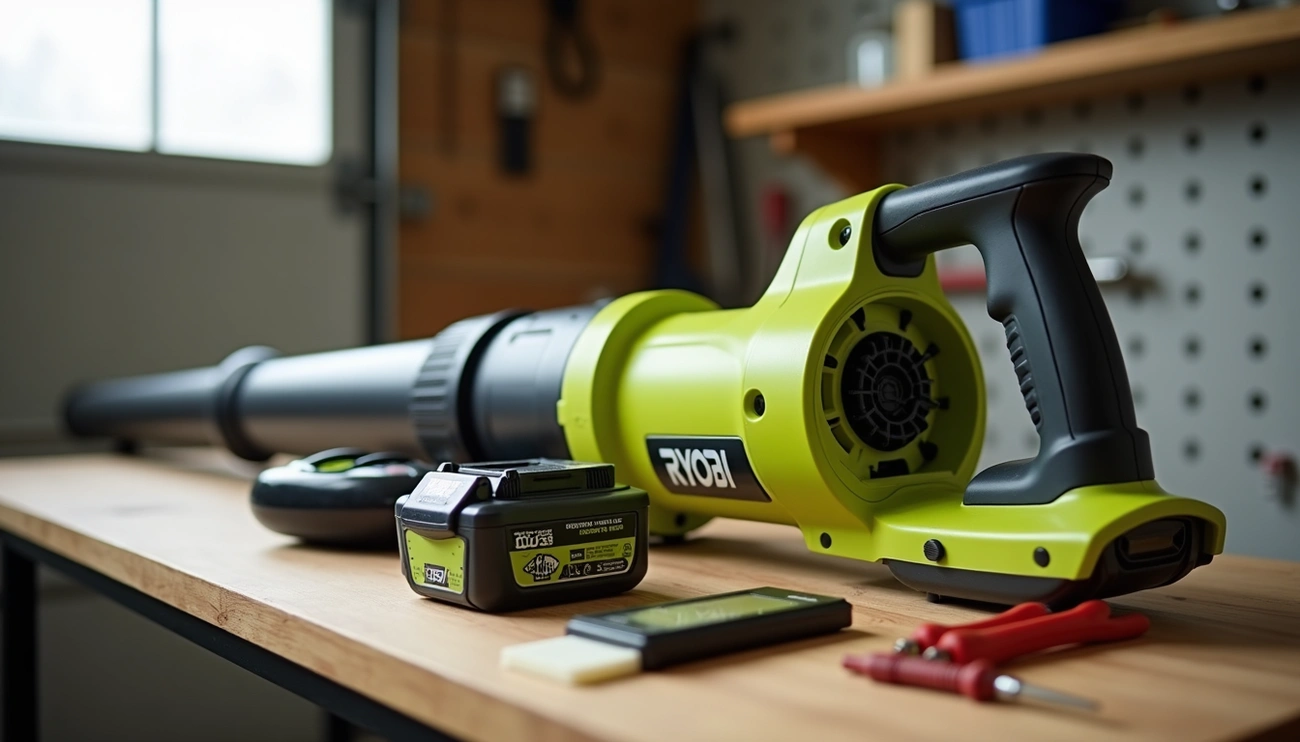
Before carburetor adjustments on your Ryobi leaf blower, check some essential things to save time and possibly eliminate the need for adjustments altogether. These are:
Inspect the air filter and fuel lines.
Check the air filter as it frequently becomes clogged with dirt and dust during normal blower operation. The air filter is typically housed in a small plastic compartment on the blower’s side.
If clogged, the engine receives too much fuel and insufficient air, causing rough running. Simply remove the foam or paper filter, inspect it, and replace it if it’s dirty to ensure proper airflow.
Inspect the fuel lines for any signs of damage or blockage. Common symptoms of faulty fuel lines include poor engine performance, decreased power, fuel leaks, or starting failures.
Ethanol in fuel can deteriorate fuel lines over time, so inspect them carefully for cracks or wear. There should be two lines on most models – one with a filter inside the tank that connects to the carburetor, and a return line leading to the primer bulb.
Check and clean the spark plug.
The spark plug is essential part for starting the engine. Remove it (usually found under a rubber cap) and inspect for corrosion, soot, or damage to the porcelain insulator or electrodes.
A dirty or damaged spark plug can cause rough running.
To clean a spark plug, apply carburetor cleaner and scrub with a wire brush to remove carbon deposits.
If cleaning doesn’t resolve issues or if the spark plug shows significant wear, replacement is an inexpensive solution.
Look for a clogged spark arrestor.
The spark arrestor is a small screen that prevents the engine from emitting sparks, but it often gets overlooked during maintenance.
Day by day, it becomes clogged with soot, restricting exhaust flow and causing poor performance.
Locate the spark arrestor on the muffler (typically on the side or front of the engine), remove it, and clean with a wire brush if sooty. Replace if cleaning doesn’t resolve the issue.
Ensure fresh fuel is used.
Use only fresh, clean unleaded gasoline less than 30 days old.
Old fuel is a primary cause of starting issues and poor performance in leaf blowers.
Ethanol-based fuels (especially E15 or E85) should be avoided as they damage the engine.
For optimal performance, consider adding a fuel stabilizer, such as Sta-Bil, if you don’t use your equipment frequently.
Know About Carburetor Screws
The carburetor adjustment screws on Ryobi leaf blower is essential for achieving optimal performance. These screws might look mysterious at first glance, particularly because of their unique design; nonetheless, they serve specific purposes in controlling the fuel-air mixture.
What the high-speed screw does
The high-speed screw, often marked with an “H” on the carburetor body, controls the fuel-to-air ratio at full throttle.
This screw primarily controls fuel flow at higher RPM, allowing you to fine-tune the mixture under load.
Turning this screw clockwise results in a leaner mixture (less fuel), while turning it counterclockwise creates a richer mixture (more fuel).
The high-speed screw is typically the one positioned farther away from the fuel barb on the carburetor.
What the low-speed screw controls
Complementary to the high-speed screw, the low-speed adjustment screw (usually marked with an “L”) manages the fuel-air mixture at idle or lower RPMs.
This screw affects how smoothly your leaf blower idles and how well it transitions from idle to acceleration.
Generally, this screw is positioned on the carburetor closer to the engine. Similar to the high-speed screw, turning it clockwise leans the mixture, while counterclockwise enriches it.
How to identify screw positions
On most Ryobi leaf blower models, you can identify the screws by their position and sometimes by markings on the carburetor.
The low-speed adjuster is typically stamped with an “L” and positioned on the left side nearest to the engine, while the high-speed adjuster is on the right side.
The difference between optimal adjustment can be extremely small—sometimes as little as 1/6th of a turn can dramatically affect performance.
Using a Pac-Man adjustment tool
Ryobi carburetors have manufacturer-designed anti-tamper screw heads commonly called “Pac-Man” screws due to their triangular cutout that resembles the classic video game character.
These require a special tool specifically designed for carburetor adjustment. You can purchase a Pac-Man carburetor adjustment tool from various online retailers for approximately £5 ($6-7).
These tools are specifically designed for Ryobi, Homelite, Poulan, Echo, STIHL, and other brands that use similar carburetors.
Step-by-Step Carburetor Adjustment
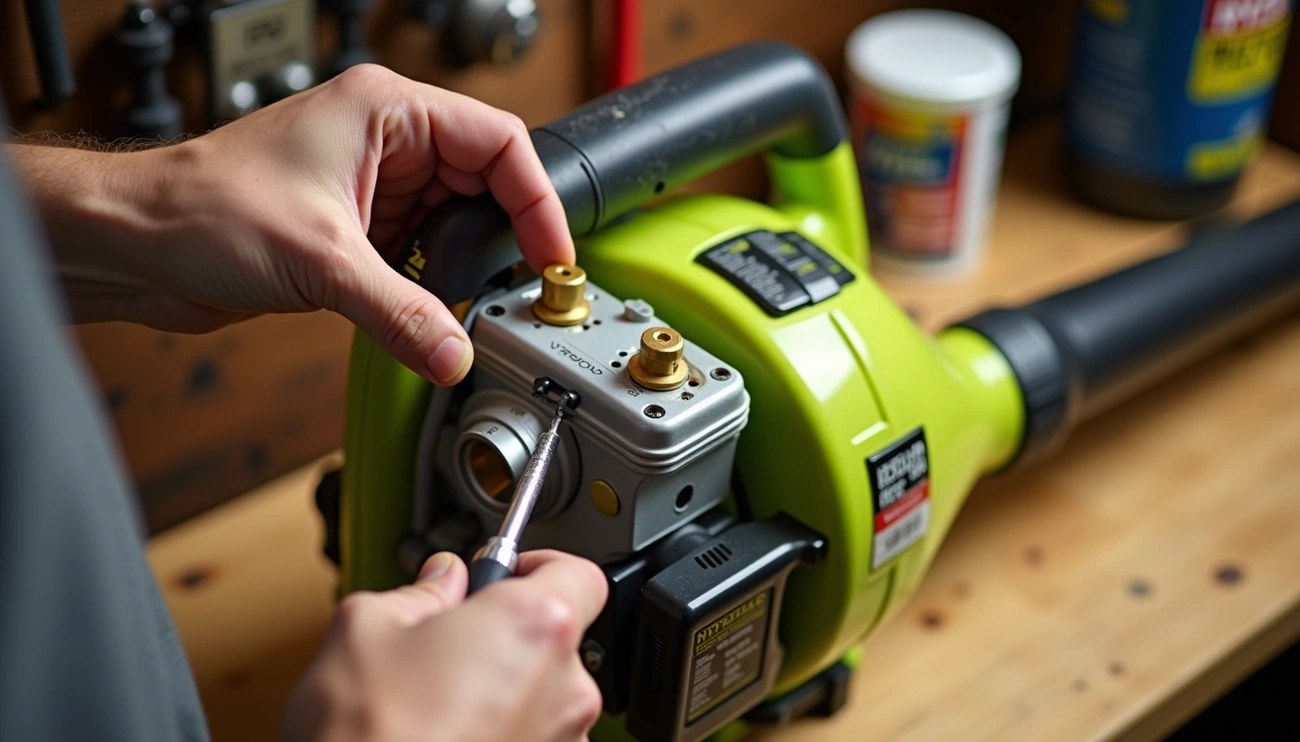
Now that you’ve inspected your leaf blower and understand the carburetor screws, it’s time to make the actual adjustments. With your Pac-Man tool in hand, follow these precise steps for optimal performance.
Start with factory settings (1.5 turns out)
Begin by turning both adjustment screws (low and high) clockwise until fully closed. Next, back them out counterclockwise to the factory setting of 1.5 turns. This provides a reliable starting point for further adjustments. At higher elevations, you might need up to 2 turns out instead of 1.5.
Adjust the low-speed screw for a smooth idle.
Start the engine and let it warm up. Locate the low-speed screw (usually closer to the engine) and turn it clockwise or counterclockwise in 1/4 turn increments until the engine idles smoothly. If the blower won’t idle at all, you may need to richen the mixture slightly by turning the mixture screw counterclockwise.
Adjust the high-speed screw at full throttle.
Hold the trigger at full throttle, and furthermore, adjust the high-speed screw until the engine reaches maximum RPM without bogging down. Listen carefully—you want to hear the engine just “peak out” without reaching a ragged edge. In some cases, as little as 1/6th of a turn can make the difference between flooding and burning a hole in the piston.
Fine-tune the idle speed screw.
Once the low- and high-speed screws are set, adjust the idle screw to achieve proper engine speed at rest. The engine should idle without stalling, yet not engage the impeller.
Restart and recheck after warm-up.
Turn off the engine, wait a moment, then restart. Throughout testing, listen for any bogging down or hesitation—signs that further adjustment is needed. Small adjustments often make a significant difference; sometimes just 1/8 turn at low speed and 1/4 at high speed is all that’s required.
Test and Troubleshoot After Adjustment
After completing your carburetor adjustments, proper testing reveals whether you’ve achieved optimal performance. A properly adjusted Ryobi leaf blower should demonstrate strong air power, smooth idle, easy starting, and consistent sound at full throttle.
Signs of a rich or lean mixture
Your leaf blower provides clear signals about its fuel mixture. A high-pitched sound indicates a lean mixture (too little fuel), which may lead to overheating. Conversely, excessive smoke points to a rich mixture (too much fuel). Additionally, if spraying carburetor cleaner temporarily improves performance, your carburetor likely needs more fuel.
What to do if the engine still bogs down
Should your blower continue to bog down, check whether the adjustment falls between 1.5 and 3 turns out from fully closed. Sometimes tiny adjustments—merely 1/8 turn counterclockwise for the low-speed jet or 1/4 turn clockwise for the high-speed jet—make significant differences. Examine the exhaust port alongside the spark arrestor screen for carbon buildup that restricts flow.
When to consider replacing the carburetor
Consider replacement whenever adjustments within normal ranges don’t resolve issues. Likewise, if the primer bulb lacks counter-pressure or has internal leaks, it must be replaced. Carburetors typically remain inexpensive relative to the cost of extensive troubleshooting.
Elevation and temperature considerations
Both elevation and temperature affect carburetor performance. At higher elevations, you’ll typically need richer mixtures—up to 2 full turns out versus the standard 1.5 turns. As temperatures fluctuate, minor adjustments may be necessary to maintain peak performance.
Final Thoughts
Proper carburetor adjustment stands as a crucial skill for any Ryobi leaf blower owner. Throughout this guide, we’ve covered essential pre-adjustment checks that can save you time and effort before you touch those carburetor screws. Additionally, understanding the function of both high-speed and low-speed adjustment screws gives you better control over your leaf blower’s performance.
The special “Pac-Man” style adjustment tool might seem like a small investment, but it certainly makes a significant difference when making precise adjustments. Remember, even tiny adjustments—sometimes as little as 1/8 turn—can dramatically affect your blower’s performance.
Following our step-by-step process ensures you’ll achieve optimal settings, starting from the factory recommendation of 1.5 turns out and fine-tuning based on your specific conditions. After all, your location’s elevation and temperature both play important roles in how your carburetor should be adjusted.