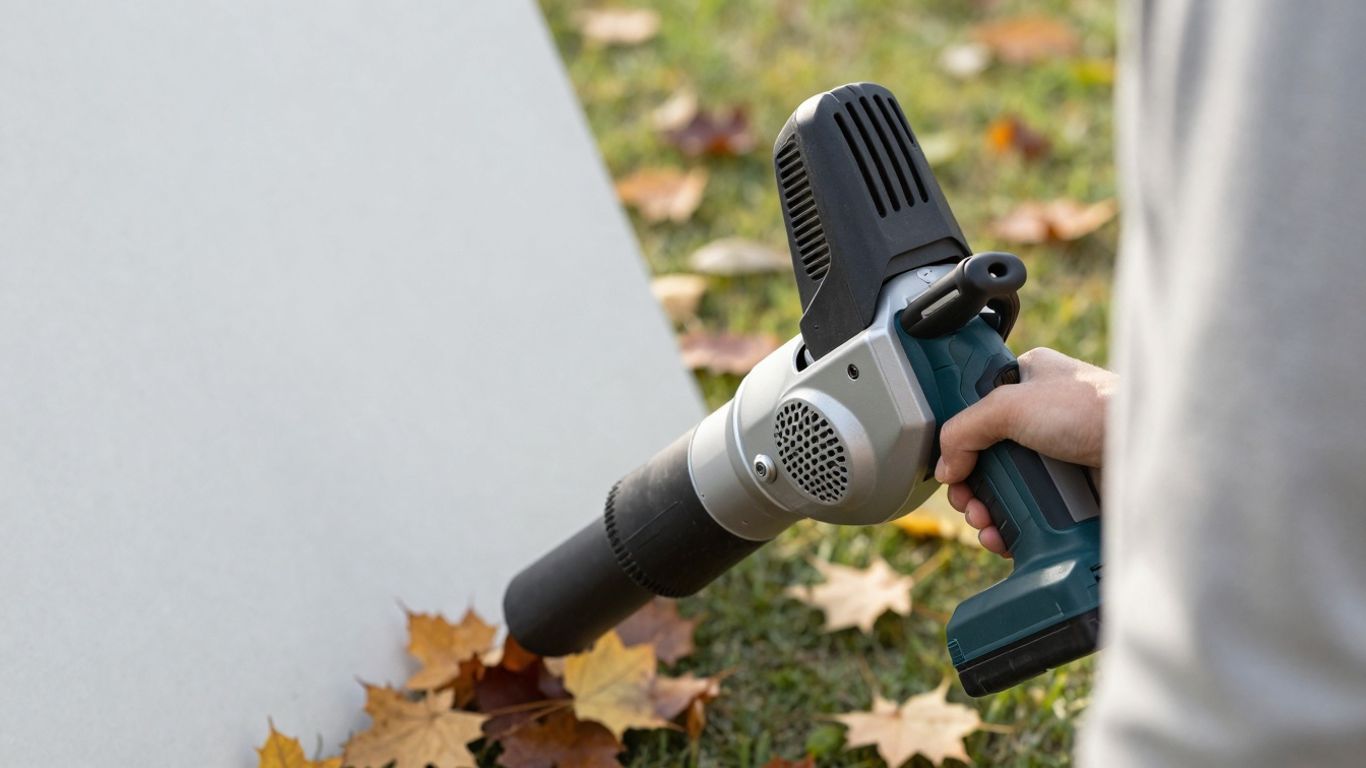
Quiet a leaf blower by reducing noise at the source using DIY acoustic methods. Line the blower tube with sound-dampening foam, reduce motor vibration with rubber mounts, or add a DIY silencer or muffler to the outlet. For significant noise reduction, replace gas models with electric or battery-powered blowers designed to operate more quietly.
Identify the Noise Source in Your Leaf Blower
Before tackling leaf blower noise, understanding where it comes from is essential. The irritating whine isn’t just one sound but a combination of different noise sources working together.
Motor and fan noise explained
The engine or motor contributes significantly to the overall noise profile. Gas-powered blowers with two-stroke engines produce a loud, high-pitched whine that can exceed 95 dB(A) at the operator’s ear. Electric motors generate less intense noise, though they still contribute to the overall sound profile.
The impeller (fan) creates two distinct types of noise:
- Tonal components that occur at frequencies related to the rotation rate
- Broadband airflow noise from turbulence
When the impeller spins rapidly—often at three times the speed of an automobile engine (9000 rpm)—it creates sound waves that travel through the entire device. A broken or damaged impeller fin can cause imbalance, leading to additional noise.
Why airflow through the tube is the main culprit
Despite motor and fan contributions, the primary source of that piercing, high-frequency “howling” sound is the high-speed airflow inside the tube. When air is forced at high velocity through a narrow tube, three things happen:
- Turbulence forms within the airstream
- Friction develops against the tube walls
- Vortices (spinning air currents) are created
These interactions generate significant aerodynamic noise that becomes the dominant sound you hear, especially the higher frequencies that travel long distances and penetrate walls.
How turbulence creates high-pitched sounds
The physics behind turbulent airflow explains those irritating high-pitched sounds. As air rushes through the tube at extremely high speeds, it creates pressure fluctuations and turbulent eddies.
Small-diameter, high-RPM fans shift the blade passage frequency into the high-frequency range (above 2-5 kHz), producing that sharp, piercing sound. Furthermore, narrow nozzles and outlets increase jet speed, pushing turbulent noise to higher frequencies.
The design elements of your leaf blower—such as sharp edges, grille patterns, and struts—create tonal vortex shedding peaks, perceived as whine or whistle. Additionally, long narrow tubes support standing waves that boost high-frequency components.
Understanding these noise sources helps us target them effectively when designing a leaf blower silencer that actually works.
How a Leaf Blower Silencer Works
A leaf blower silencer operates on principles similar to mufflers for cars or suppressors for firearms, primarily by modifying how air flows through the device. Modern silencers target the specific frequencies that make leaf blowers so irritating without sacrificing performance.
What is acoustic foam and how it helps
Acoustic foam serves as the foundation for many leaf blower silencers. This specialized material:
- Is typically made from high-density polyurethane with approximately 30 kg/m³ density
- Absorbs sound waves by converting sound energy into heat
- Features fire-resistant properties for safety during operation
Unlike common misconceptions, acoustic foam doesn’t block sound completely—it absorbs it. The foam’s porous structure disrupts sound waves, preventing them from bouncing around and creating that harsh echo effect. This makes it ideal for dampening the high-frequency noise that makes leaf blowers so unpleasant.
Why lining the air tube reduces noise
Lining the air tube with acoustic material effectively reduces noise through several mechanisms. Modern silencer designs separate airflow, allowing some air to pass through unmodified while redirecting a portion through channels that shift its phase. When these two airflows recombine, they create destructive interference for certain sound frequencies.
This technique can reduce the most shrill and annoying frequencies by approximately 12 decibels, making them 94% quieter. The overall noise reduction of about 2 decibels translates to the leaf blower sounding 37% quieter, transforming the high-pitched screech into a more tolerable “wind noise.”
Impact on airflow and performance
The beauty of well-designed leaf blower silencers is that they maintain full blowing power. According to engineers who developed these systems, silencers “dampen the sound as it leaves, but keep all that force”. Moreover, by reducing turbulence in the exhaust airflow, silencers can actually decrease back pressure and potentially increase efficiency.
Regular maintenance of your silencer ensures optimal performance over time. Cleaning and inspecting for clogs or damage helps maintain both noise reduction and airflow. For DIY solutions, it’s essential to ensure your modifications don’t restrict airflow, as this could affect the tool’s performance or potentially damage the motor.
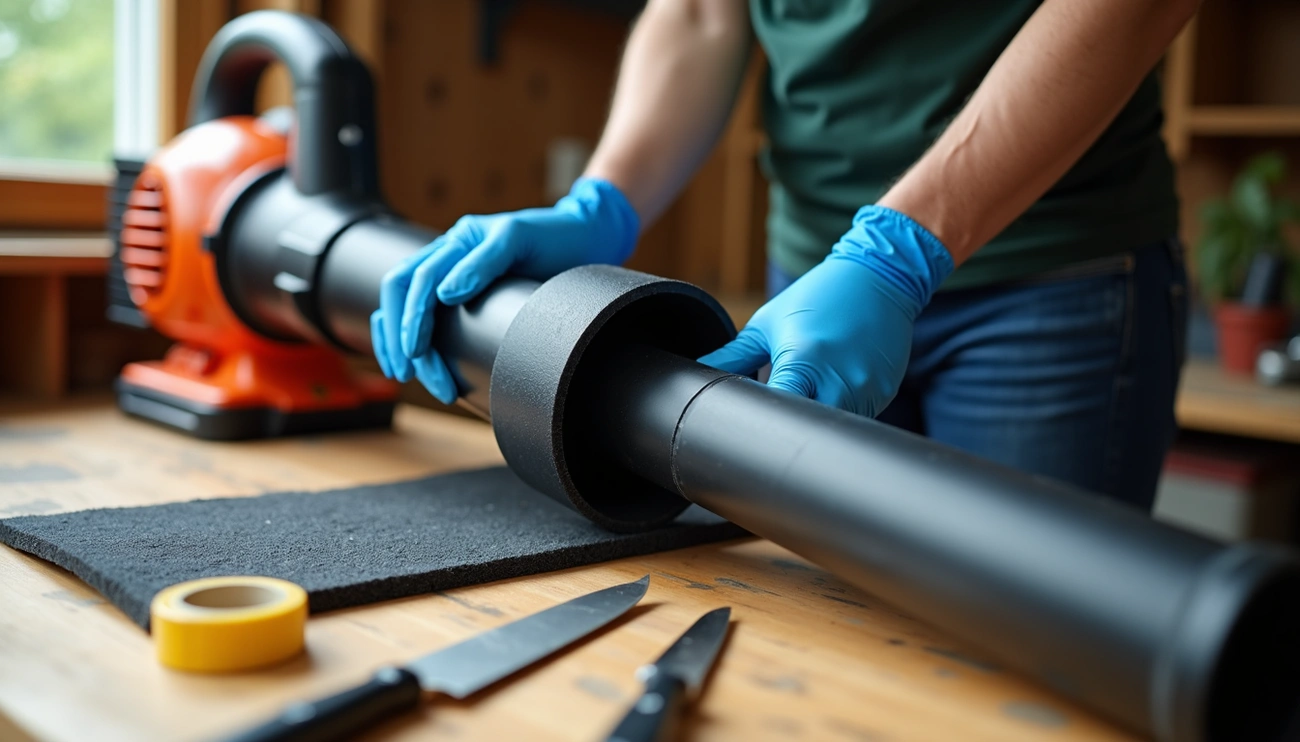
Step-by-Step Guide to Install a DIY Leaf Blower Muffler
Ready to quiet down your leaf blower? With basic materials and a few simple steps, you can create an effective silencer that significantly reduces noise.
Gather the right materials and tools
First, collect high-temperature resistant acoustic foam and aluminum foil tape. Also gather sharp scissors or utility knife, measuring tape, gloves, screwdriver, and a clean cloth. Safety equipment including insulated work gloves and safety glasses are essential.
Disassemble and clean the air tube
Ensure your leaf blower is completely OFF and battery removed. Place it on a stable surface. If your tube is detachable (check manual), remove it for easier modification. Otherwise, position the blower securely to access the tube. Subsequently, wipe the entire surface with a clean cloth to remove dirt or grease.
Measure and cut the acoustic foam
Measure both the length of the tube section and its circumference. Cut the acoustic foam to these exact dimensions. An electric carving knife creates the cleanest cuts in foam.
Secure the foam inside the tube
Carefully wrap the foam inside the tube with foil facing outward. For longer tubes, roll the foam into a cylinder, tape it together, afterward insert it into the tube.
Inspect for safety and fit
Following this, check that the liner is secure without loose edges, the tape is firmly bonded, and all air passages remain unobstructed.
Reassemble and test the blower
Reconnect everything, ensuring it clicks securely into place. Test in an open area to evaluate the noise reduction.
Safety Tips and Testing Your Quiet Leaf Blower
After installing your leaf blower silencer, safety should be your primary concern. Regular maintenance ensures both performance and safety.
Check for overheating or airflow blockage
Inspect cooling fins regularly for damage, bending, or debris buildup. Never obstruct the motor housing, battery compartment, air inlets, or outlet nozzle. A properly installed silencer allows sufficient airflow while reducing noise. Whenever your quiet leaf blower feels unusually hot or performance drops, immediately check for blockages.
Use only high-temperature, fire-safe materials
Choose materials rated as high-temperature resistant (minimum 80°C/176°F), fire-retardant, and non-toxic. Consequently, this prevents melting, fire hazards, and toxic fume emissions. Secure all acoustic materials firmly to prevent them from coming loose and potentially causing damage.
Measure noise reduction with a decibel meter
For accurate testing, use a professional decibel meter. Place it at consistent distances (about 10 cm from the nozzle) for both before and after measurements. Effective leaf blower mufflers typically achieve noise reduction of 5-15 dB(A), primarily in high-frequency ranges.
Understand warranty implications
Nevertheless, be aware that DIY modifications will likely void your manufacturer’s warranty. Unless explicitly stated otherwise, altering your leaf blower invalidates warranty coverage. Commercial blowers often have different warranty procedures than residential models. Therefore, consider these implications before proceeding with any modifications.
Conclusion
Quieting your leaf blower stands as a worthwhile project that benefits both you and your neighbors. Through this guide, we have seen how a simple DIY silencer can reduce those piercing high-frequency sounds by up to 12 decibels, making the overall noise 37% quieter. This transformation happens without sacrificing the blowing power that makes these tools so useful.
The noise reduction techniques we’ve explored target the primary culprits – turbulent airflow through the tube, motor vibrations, and fan noise. Acoustic foam serves as the hero of our silencer design, effectively absorbing sound waves rather than blocking them. Most importantly, this DIY approach costs significantly less than purchasing a specialized quiet leaf blower model.
Remember, safety remains paramount when modifying any power tool. Always use fire-resistant materials, check regularly for overheating, and ensure airflow remains unobstructed. Though warranty implications exist, many users find the peace and quiet worth this trade-off.