Charge a cordless leaf blower by removing the battery pack and sliding it into the matching charger with contacts aligned. Plug the charger into a wall outlet and wait until the LED changes from red or flashing to solid green. Always use the manufacturer’s charger and fully charge before first use.
Understanding Your Leaf Blower Battery
Getting familiar with your leaf blower battery is crucial before attempting to charge it. The right knowledge ensures optimal performance and prevents potential damage to your equipment.
Types of batteries used in leaf blowers
Most modern cordless leaf blowers utilize lithium-ion batteries that come in different voltages. The most common options include 20V, 40V, and 56V batteries. The BLACK+DECKER models typically use 20V MAX* Lithium Ion batteries with 2Ah capacity. Meanwhile, EGO POWER+ leaf blowers operate on more powerful 56-Volt batteries available in various amp-hour ratings including 2.0Ah, 2.5Ah, 5.0Ah, and 7.5Ah.
For leaf blowers specifically, 4Ah batteries offer a good balance between weight and runtime, whereas 2.5Ah batteries may deplete too quickly during operation. Furthermore, the 5Ah battery weighs nearly the same as the 4Ah (.07 lb more) yet provides 25% more power (280Wh vs. 224Wh).
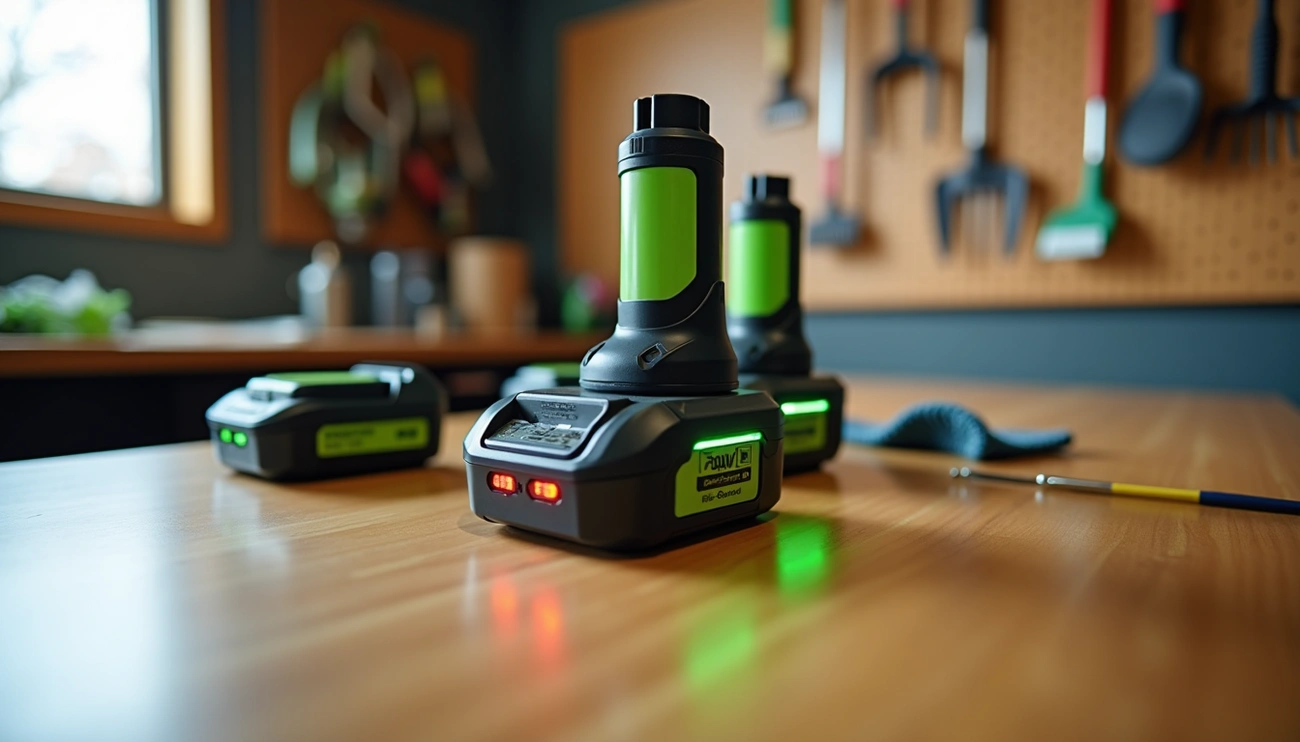
What the charger lights mean
Understanding charger indicator lights helps you monitor the charging process:
- Green flashing light: Indicates the battery is actively charging. Once charging completes, all green lights will turn off.
- Red solid light: Generally shows the battery is too hot or too cold for charging. Allow the battery to reach room temperature before continuing.
- Three glowing red lights: Signals the power tool is too warm and needs to cool down.
- Three flashing red lights: Indicates a power tool malfunction requiring dealer assistance.
- Four flashing red lights: Points to a battery malfunction necessitating professional service.
For Husqvarna models, a flashing green LED specifically indicates temperature issues, while a flashing red LED suggests a charging fault.
How to properly connect the battery to the charger
Properly connecting your leaf blower battery involves straightforward steps:
- Ensure both battery and charger are clean, with no debris on connection points.
- Align the battery with the corresponding slots on the charger.
- Slide or press the battery firmly until it clicks securely into place.
- Verify the charging indicator light activates, showing the battery is properly seated.
- Allow the battery to charge completely before disconnecting.
A common mistake involves not fully inserting the battery, resulting in poor connection and failed charging attempts. Always confirm the indicator lights are functioning as expected after connection.
How Long Does It Take to Charge a Leaf Blower Battery?
Knowing the charging time for your leaf blower battery helps you plan your yard work effectively. Several factors influence how long it takes for your battery to reach full power.
Charge time for 20V, 40V, and 56V batteries
The voltage of your leaf blower battery directly impacts charging duration. For 20V lithium-ion batteries, which are among the most popular, expect a full charge to take anywhere from 30 minutes to 2 hours. Higher voltage batteries naturally require more time due to their larger capacity cells. The 40V and 56V batteries typically need between 1.5 to 3 hours for a complete charge.
Some manufacturers offer charging time estimates based on capacity percentage. For instance, charging to 80% often takes between half an hour and four and a half hours, depending on the battery type. At this level, the battery can be used without performance issues, even on first use.
Standard vs fast vs smart chargers
The type of charger you use significantly affects charging speed. Standard chargers deliver lower current for a gentler charge, protecting battery longevity although taking longer. Fast chargers, conversely, supply higher current to complete the cycle more quickly—sometimes reducing charging time by more than half. A standard 2A charger might recharge a 40V 4Ah battery in approximately 2 hours, whereas a rapid 5A+ charger could accomplish the same task in under an hour.
Smart chargers represent the latest technology, using intelligent control systems to optimize both charging speed and battery lifespan. For example, certain 4A chargers can fully recharge a 2.5Ah battery in around 40 minutes.
How temperature affects charging speed
Temperature plays a crucial role in how quickly your leaf blower battery charges. Optimal charging occurs between 41°F and 104°F (5°C and 40°C). When charging in cold conditions, the chemical reactions inside battery cells slow down, extending the required time. Similarly, excessively high temperatures may trigger safety mechanisms that reduce charging rate to prevent overheating damage.
For best results, always charge your battery at room temperature. If it has been stored in a cold environment, allow it to warm up naturally before connecting it to the charger.
Common Mistakes to Avoid When Charging
Avoiding common charging mistakes is essential for maintaining your leaf blower’s battery health. These errors can shorten battery life or even create safety hazards.
Leaving the battery on the charger too long
Most modern leaf blower chargers include smart charging technology that automatically stops when the battery is full. Nevertheless, leaving batteries plugged in for extended periods can still cause slow degradation. This happens because continuous trickle charging creates heat buildup that reduces overall battery life. As a safety measure, always unplug your battery once it’s fully charged.
Charging in extreme temperatures
Temperature significantly affects battery health. Lithium-ion batteries should be charged in environments above 50°F (10°C). Additionally, the ideal charging temperature range is between 50˚F and 100˚F. If the charging indicator shows an orange light when inserting the battery, it’s likely too hot or cold—let it rest for approximately 30 minutes before trying again.
Using the wrong charger
Consequently, using an incompatible charger is particularly dangerous. Chargers that supply incorrect voltage can cause overcharging, which breaks down the electrolyte inside the battery. Moreover, using the wrong charger can lead to fires. Indeed, only use the manufacturer-recommended charger specifically designed for your leaf blower model.
Not fully inserting the battery into the charger
A common yet overlooked issue involves improper battery seating. When the battery isn’t fully inserted, the charging contacts don’t properly align, essentially preventing charging altogether. Verify that the battery clicks securely in place and check that indicator lights activate upon insertion.
Charging a damaged or swollen battery
Immediately stop using or charging batteries showing signs of damage such as:
- Unusual odor or excessive heat
- Popping sounds or swelling
- Discoloration or leaking
Damaged batteries can release corrosive and toxic electrolytes, creating serious safety risks.
How to Maximize Battery Life and Charging Efficiency
Proper maintenance habits can dramatically extend your leaf blower battery’s lifespan. I’ll share proven techniques to keep your battery performing at its best.
Charge at room temperature
Optimal charging happens between 41°F and 104°F (5°C-40°C). Charging in this temperature range shortens charge times and protects battery chemistry. Extreme temperatures force the battery to work harder, subsequently reducing its lifespan. Always allow cold batteries to warm naturally before charging.
Avoid full discharges
Unlike older battery technologies, lithium-ion batteries perform better when not deeply discharged. Try to recharge when the battery reaches about 20-30% capacity. This approach maintains optimal performance and prevents capacity loss over time. Regular use of your leaf blower actually helps maintain battery health.
Clean battery and charger contacts regularly
Dirty connections prevent proper charging. Periodically, use a soft, dry cloth to gently wipe battery terminals clean. Avoid harsh chemicals that might damage battery components. Clean contacts ensure good electrical connection during charging sessions.
Store batteries at partial charge when not in use
For long-term storage, maintain batteries at 40-60% charge. Remove batteries from both the tool and charger. Store in a cool, dry place—ideally between 50°F and 80°F (10°C-26°C). Check stored batteries every two months and recharge if levels drop below 20%.
Conclusion
Proper charging practices directly impact your leaf blower’s performance and longevity. Throughout this guide, we’ve explored essential aspects of battery care that many users overlook. First and foremost, understanding your specific battery type helps determine optimal charging times and methods. Whether you own a 20V, 40V, or 56V model, each requires specific handling to maintain peak efficiency.
The charger you use significantly affects both charging speed and battery health. Fast chargers offer convenience but might sacrifice some battery longevity, while smart chargers balance both factors effectively. Room temperature charging proves ideal, as extreme temperatures can damage battery cells permanently.
Many common mistakes happen simply due to lack of knowledge. Consequently, leaving batteries on chargers too long, using incorrect chargers, or failing to properly seat the battery can all lead to premature failure. These simple errors often result in frustrating experiences when your leaf blower fails during important yard work.