A Husqvarna leaf blower won’t start because of stale fuel, a clogged carburetor, a fouled spark plug, or a blocked air filter. Fix the issue by draining old fuel, cleaning the carburetor, replacing the spark plug, and ensuring proper choke and primer operation before restarting.
Step 1: Check the Basics First
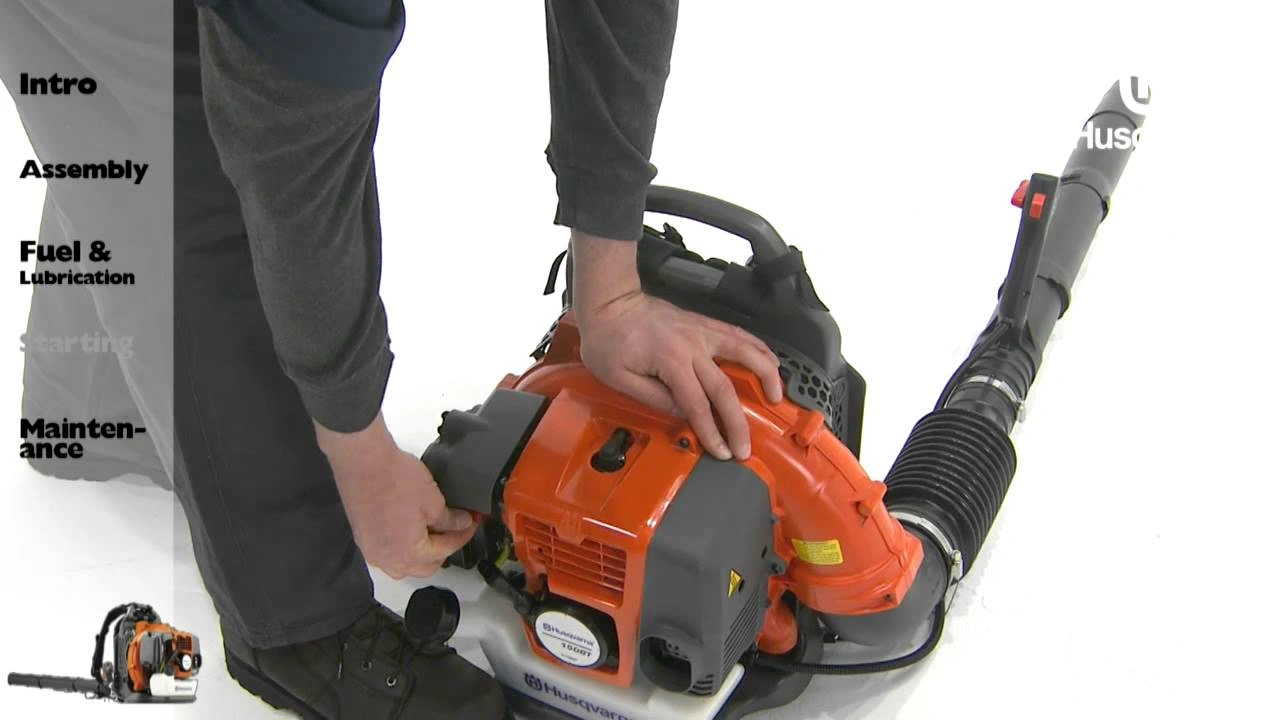
Before diving into complex troubleshooting, checking the basics can often reveal simple solutions when your Husqvarna leaf blower won’t start. These fundamental checks might seem obvious, yet they often resolve initial issues without requiring technical expertise.
Is the on/off switch in the right position?
First, verify the on/off switch is properly positioned to “ON” before attempting to start your blower. This straightforward check is often overlooked during troubleshooting. According to repair experts, a malfunctioning on/off switch is among the most common reasons for starting failures. If your blower previously started but suddenly stopped working, inspect the switch for visible damage or breakage.
Husqvarna specifically recommends regularly checking that the start/stop switch operates correctly and isn’t damaged as part of routine maintenance. For 125B models, the switch should move freely between positions without sticking. If the switch seems physically damaged, replacing the on/off switch lever may be necessary, as this component can break with regular use.
Moreover, check the wire connections to the switch. Loose connections can prevent the ignition system from functioning properly. Sometimes, simply reconnecting these wires resolves the starting problem without replacement parts.
Inspect the fuel level and type.
Naturally, ensure your leaf blower contains fuel before attempting to start it. However, the type and quality of fuel are equally important. Husqvarna leaf blowers require a specific gasoline-to-oil mixture at a precise ratio.
For optimal performance, all Husqvarna blowers require a 50:1 fuel-oil mixture (2% oil). Using an incorrect ratio is a common cause of starting problems and engine sputtering. If you’ve been using the wrong mixture (such as 40:1), this could explain why your blower won’t start.
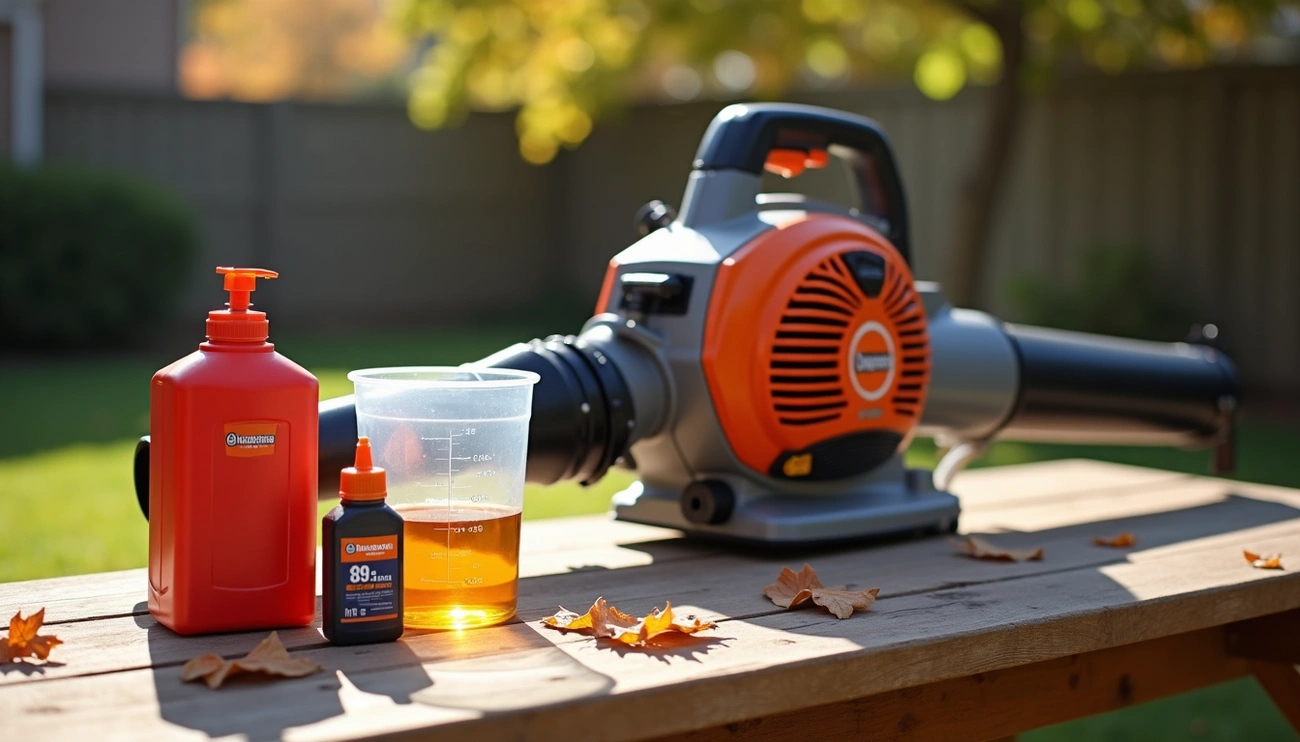
For best results:
- Use 89 octane unleaded gasoline.
- Add Husqvarna 2-stroke engine oil (preferably FD certified)
- Mix precisely: 2.6 ounces of oil to 1 gallon of gas.
- Always prepare the mixture in a clean, dedicated fuel container—never directly in the blower’s tank.
Additionally, check for stale fuel. If your leaf blower has been stored with fuel for over a month, the fuel may have deteriorated. Stale fuel can clog the system, preventing the engine from starting. In this case, drain the old fuel completely and replace it with a fresh mixture.
Look for obvious damage or loose parts.
Before proceeding to more complex diagnostics, inspect your blower for visible damage or loose components. Pay special attention to:
- Fuel lines for cracks or leaks (especially when pressing the primer bulb)
- Loose screws and nuts that need tightening
- Damaged controls or triggers
- Cracked housing that might affect air pressure
- Bent or damaged tubes affecting airflow
Husqvarna maintenance guidelines specifically recommend checking that “all controls work and are not damaged” and ensuring “that the screws and nuts are tight”. These simple checks often uncover issues that prevent proper starting.
Certainly, thoroughly inspect the primer bulb for proper operation. When pressed, you should feel resistance as it draws fuel, and you should be able to see fuel moving in the return line. A damaged or hardened primer bulb may fail to deliver fuel to the carburetor, making starting impossible.
Step 2: Test the Spark Plug and Ignition
After checking the basics, a faulty spark plug or ignition system is often the cause of a Husqvarna leaf blower that won’t start. The spark plug is crucial as it ignites the fuel-air mixture that powers your blower. Let’s diagnose these components systematically.
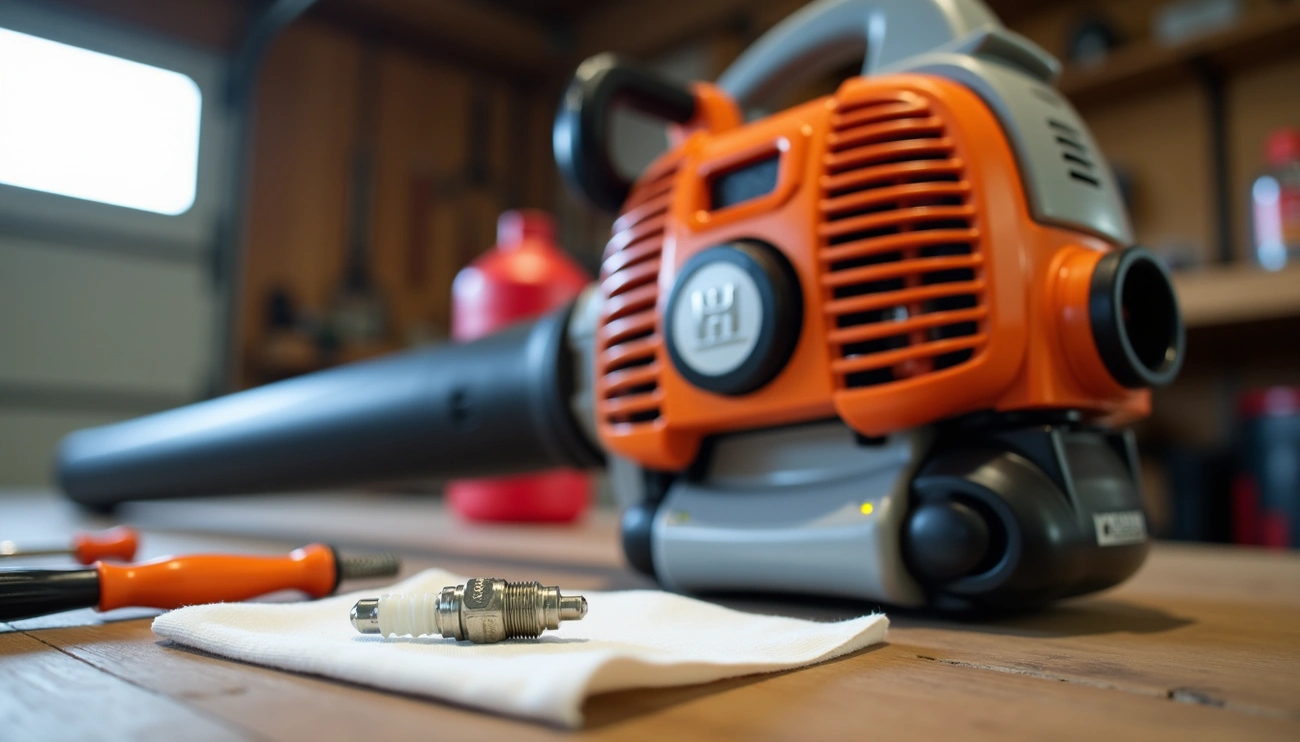
Remove and inspect the spark plug.
To properly examine your spark plug:
- Disconnect the spark plug wire by gently pulling the cap off the plug.
- Clean the area around the spark plug to prevent debris from falling into the cylinder.
- Use a 5/8-inch deep-well socket or spark plug wrench to remove the plug by turning counterclockwise.
- Carefully extract the plug from the cylinder head.
Once removed, thoroughly inspect the spark plug. Look for:
- Carbon deposits on the electrode (indicating incomplete combustion)
- Cracks in the porcelain insulator
- Excessive wear on the electrodes
- Corrosion on the contact points
If you find carbon deposits, clean them using a wire brush. For a Husqvarna 125B or similar models, the spark plug should have a specific gap—typically 0.02-0.03 inches. Verify this gap using a feeler gauge. A worn or damaged spark plug needs to be replaced, as it won’t efficiently ignite fuel even with proper voltage.
Check for a spark using a tester.
Testing for spark confirms whether the ignition system is functioning properly:
First, use a dedicated spark tester for the most accurate diagnosis. These inline testers connect between the spark plug wire and the spark plug itself. To test effectively:
- Connect the spark tester to the spark plug wire.
- Ground the tester to the engine block.
- Pull the starter cord as if starting the blower.
- Watch for a strong, bright spark jumping between the tester terminals.
A lack of spark or a weak spark indicates potential problems with the ignition system. Furthermore, sometimes a spark that appears adequate outside the engine might be insufficient under compression. If uncertain about the spark tester results, try grounding an actual spark plug to the engine block instead. This sometimes provides a clearer indication of spark quality.
When to suspect a faulty ignition coil
The ignition coil transforms low voltage into thousands of volts needed to create a spark at the plug. Several signs point to a failing ignition coil in your Husqvarna leaf blower:
- Your blower starts but dies when it’s warm.
- You have verified the spark plug is good, but still no ignition.
- The engine runs inconsistently or stalls unexpectedly.
- There’s no spark despite checking all other components.
Ignition coils in Husqvarna blowers sometimes fail when they heat up. This explains why some units start cold but die once they warm up. To diagnose a coil issue:
- Run your blower until it quits.
- Immediately check for a spark at the plug.
- If there’s no spark when hot but a spark when cool, the coil is likely failing.
For Husqvarna 125B models with no spark, also verify the ignition coil gap is set correctly at .012 inches between the coil and flywheel magnets. Incorrect gaps prevent proper voltage generation. Additionally, check that the kill switch wire is properly connected and not shorting out the system, as this is a common cause of ignition failure.
Step 3: Inspect the Fuel System
Fuel system problems frequently prevent Husqvarna leaf blowers from starting, even when other components are functioning properly. A properly maintained fuel system is crucial for your blower’s performance and longevity, particularly with two-stroke engines like those in the Husqvarna 125B.
Verify the correct fuel mix for Husqvarna 125B.
The Husqvarna 125B requires a precise fuel mixture to operate effectively. According to Husqvarna’s specifications, you must always use a 50:1 ratio (2% oil) for optimal performance. This translates to 2.6 ounces of two-stroke oil per gallon of gasoline.
For best results:
- Use high-quality unleaded gasoline with a minimum octane rating of 87
- Mix with Husqvarna two-stroke oil, specially formulated for their engines.
- Alternatively, use a high-quality synthetic oil designed for two-stroke engines.
Notably, using an incorrect fuel mixture is a common cause of starting problems. Many owners mistakenly use pre-mixed fuels intended for other equipment or mix incorrect ratios. Remember that running the engine on lower than 87 octane can cause “knocking,” leading to increased engine temperature and potentially serious engine damage.
Check for a clogged fuel filter or lines.
Old fuel often leaves behind sticky residue that clogs the fuel system. If your blower has been sitting unused with fuel for over a month, this could be your issue. Signs of fuel line problems include:
- Visible leakage from hoses when inspecting the unit
- Hardened or cracked fuel lines that restrict flow
- Primer bulb that doesn’t fill when pressed
To check the fuel filter:
- Remove the fuel cap and locate the filter inside the tank.
- Inspect for discoloration or visible debris.
- Verify you can blow through the fuel lines when disconnected from the carburetor.
Remember that fuel lines need proper routing—crossed lines can cause starting failures. Occasionally, a small pinhole in a line can prevent proper fuel flow and pressure.
Ensure the primer bulb is working properly.
A properly functioning primer bulb should depress when pushed and then return to its original position. If the primer bulb remains depressed or returns very slowly, this indicates a problem.
First, try priming with the fuel cap loosened. If the primer still doesn’t work properly, the issue might be:
- Clogged fuel lines are preventing proper suction.
- Faulty check valve in the primer assembly
- Dirt or debris in the fuel system
When the primer bulb fails to retract properly, it’s not drawing fuel from the tank as designed. As one technician notes, “When you push the primer bubble and let it go, that’s when the fuel is drawn from the fuel tank. Gas is sucked in when the primer bubble is released”.
Step 4: Clear Flooding and Restart Properly
Even with proper fuel and a functional spark plug, your Husqvarna leaf blower might be suffering from engine flooding. Flooding occurs when excess fuel saturates the combustion chamber, preventing ignition. Recognizing and addressing this common issue can quickly get your blower running again.
How to identify a flooded engine
Two primary indicators signal a flooded Husqvarna leaf blower:
- A strong smell of fuel is coming from the muffler.
- The leaf blower repeatedly fails to fire or start.
Additional signs include multiple pulls of the starter rope with no response and a wet spark plug upon inspection. If you’ve placed your blower on its side during storage, this position can sometimes cause fuel to leak into areas where it shouldn’t, leading to flooding.
Steps to clear excess fuel
Once you’ve confirmed flooding, follow these steps to clear the excess fuel:
- Remove the spark plug from the engine.
- Pull the starter rope several times (10-12 pulls recommended) to expel excess fuel from the combustion chamber.
- Ensure the spark plug wire doesn’t come into contact with any spilled fuel.
- Clean and dry the spark plug with a clean cloth
- Allow both the spark plug and cylinder top to air out for about a minute.
- Reinstall the spark plug, making sure it’s correctly tightened.
For thorough clearing, you can optionally use an air compressor to blow a small amount of air into the spark plug hole before reinstalling the plug.
Proper choke and throttle technique
Improper choke usage often causes flooding and starting difficulties. For cold engine starting:
- Press the purge bulb up to 10 times until fuel begins filling the bulb.
- Set the choke to the full position for initial pulls.
- Pull until the engine attempts to start (maximum three pulls)
- Move the choke to the half position and pull until the engine starts.
- Allow 10 seconds of warm-up time.
- Finally, move the choke to the off position.
For warm engines, the procedure differs slightly:
- Squeeze and hold the throttle trigger.
- Set the choke to the half position.
- Pull the starter rope while holding the throttle.
- Move the choke to the off position once running.
Remember, you should never run a Husqvarna blower with the choke closed during normal operation. The choke should be fully open (off) during regular use.
Step 5: Dig Deeper If It Still Won’t Start
If you’ve worked through the previous steps and your Husqvarna 125B still refuses to start, it’s time to examine more advanced potential issues. These deeper diagnostics often reveal hidden problems preventing your leaf blower from running.
Check the air filter and muffler for blockages.
A clogged air filter restricts airflow, creating an improper air-fuel mixture. Consequently, your Husqvarna blower may fail to start. Remove the air filter cover, extract the filter element, and hold it up to a light source. If light doesn’t pass through easily, clean or replace it.
The muffler can likewise become clogged with carbon deposits, particularly after extended use. A blocked muffler prevents exhaust gases from exiting properly, suffocating the engine. Remove the muffler shield and inspect for visible carbon buildup or debris.
Test engine compression
Without adequate compression, your Husqvarna 125B simply cannot start. Using a compression tester:
- Remove the spark plug.
- Thread the compression gauge into the spark plug hole.
- Pull the starter cord several times.
- Check the reading – healthy engines typically show 90 PSI or higher.
Readings below 70 PSI indicate serious internal engine issues requiring professional attention.
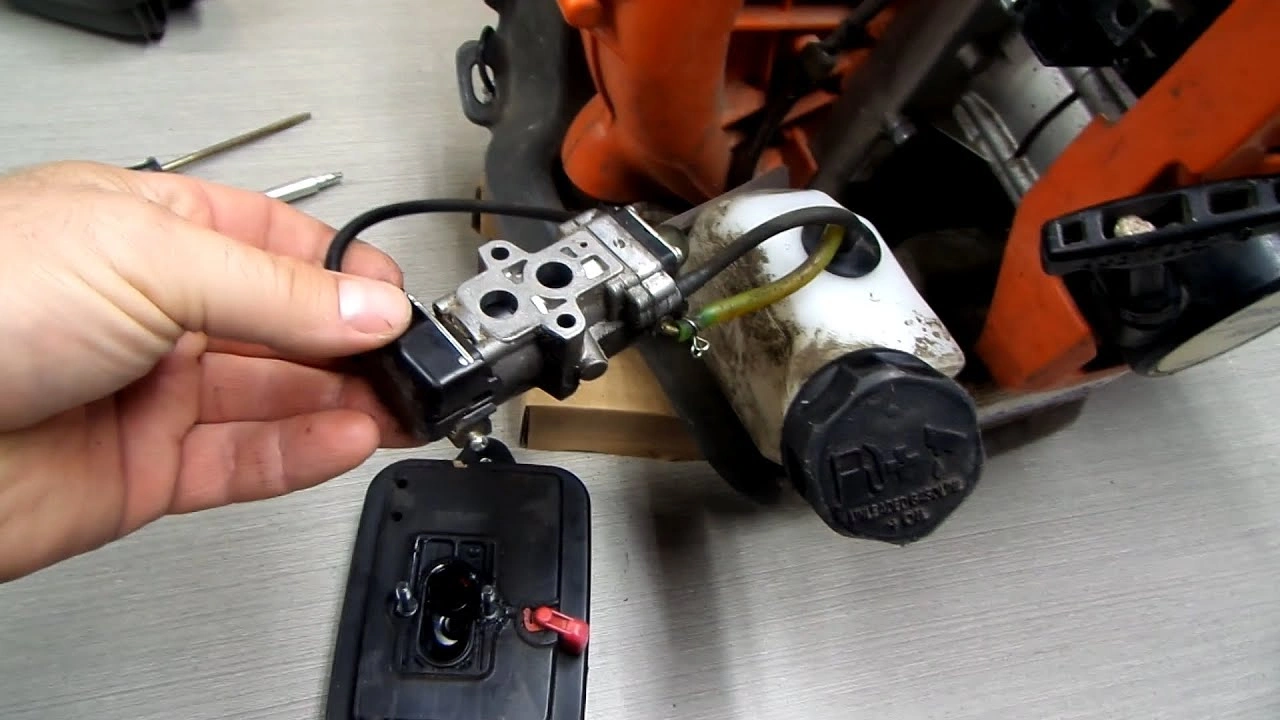
When to replace the carburetor
Consider replacing the carburetor when:
- You’ve cleaned it thoroughly, but problems persist.
- The diaphragms appear stiff or cracked.
- The engine runs inconsistently despite other repairs.
- Visible corrosion or damage exists on metal parts.
Aftermarket carburetors offer a cost-effective solution for many Husqvarna models compared to more extensive engine repairs.
Conclusion
Troubleshooting your Husqvarna leaf blower requires patience and a methodical approach. Throughout this guide, we’ve walked through five critical steps that address the most common starting issues. Many problems stem from simple oversights, such as incorrect switch positions, stale fuel, or improper choke settings. Additionally, spark plug issues, clogged fuel filters, and flooded engines frequently prevent these powerful tools from starting.
Remember that proper maintenance significantly reduces the risk of starting problems. Fresh fuel mixed at the correct 50:1 ratio, regular spark plug checks, and clean air filters all contribute to reliable performance. Most importantly, storing your blower properly without fuel during long periods of inactivity prevents many of the carburetor issues we’ve discussed.
Some situations still require professional assistance, especially when compression tests show readings below 70 PSI or when internal engine damage exists. Nevertheless, most starting issues can be resolved using the steps outlined above. Your Husqvarna leaf blower represents a significant investment, and following these troubleshooting steps will help maximize its lifespan and reliability.