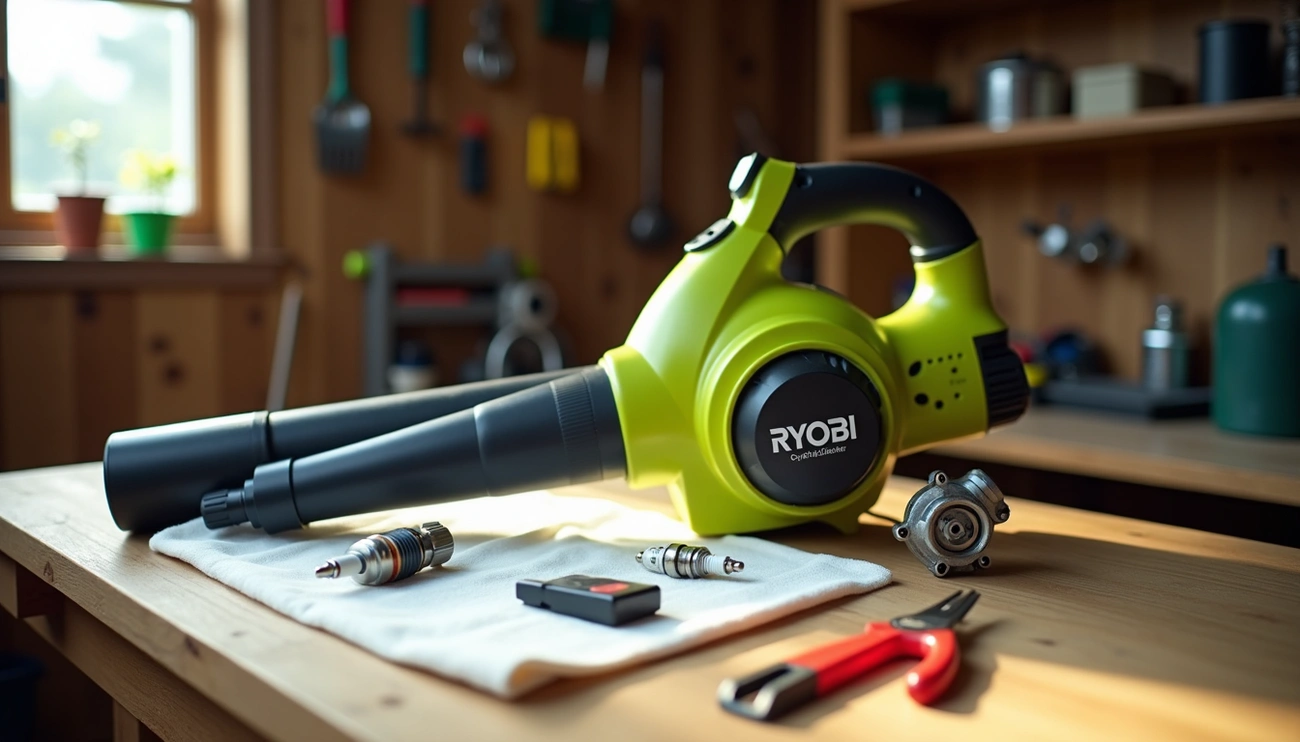
A Ryobi leaf blower handle adjustment is broken because of a stripped locking cam, internal debris, misalignment, or a cracked handle component. Fix the problem by removing the handle cover, inspecting the release mechanism, cleaning debris, lubricating moving parts, and replacing the locking cam or entire handle assembly using the correct model number.
Identify the Handle Problem
Before attempting any fix on your leaf blower, it’s crucial to identify the exact problem with your handle. Understanding the symptoms will guide you toward the appropriate solution for your specific situation.
Common signs of a broken or loose handle
The most telltale sign of a broken Ryobi leaf blower handle adjustment mechanism is when the adjustment knob simply spins without tightening. You might notice:
- The handle feels unstable or wobbles during operation.
- You can feel the teeth trying to grab as you raise or lower the handle, but it won’t stay in position.
- The handle suddenly gives way and falls to the lowest setting while in use.
- Cracking at the base of the handle after hard use or accidental drops
These symptoms typically indicate that the metal-to-plastic connections have failed, and the plastic can no longer properly grip the metal portion of the adjustment mechanism.
When to fix vs. replace the handle
Deciding whether to fix or replace depends primarily on the extent of the damage:
Fix it when:
- The handle knob spins, but you can still manually position the handle with some force
- The issue is recent, and there’s no visible damage to the plastic components.
- You can temporarily use the blower despite the handle issue.
Consider replacement when:
- The plastic that held the original bolt in place has completely broken.
- Internal threads are stripped beyond repair.
- The handle is cracked at the base, compromising structural integrity.
How does this affect blower performance?
A compromised handle adjustment mechanism negatively impacts your blower’s functionality in several ways:
First, it affects your control during operation, making it difficult to maintain proper positioning, especially during extended use. Furthermore, a loose handle creates safety concerns as it may suddenly collapse while you’re working.
Additionally, a faulty handle grip can cause discomfort during operation, leading to fatigue and reduced productivity. For 40V models with significant power, proper handle positioning is essential to maintain control of airflow direction.
Consequently, what seems like a minor inconvenience can significantly diminish your leaf blower’s effectiveness and potentially lead to incomplete yard cleaning or unnecessary strain on your arms and shoulders.
Quick Fix Without Tools
Now that I’ve identified my handle problem, it’s time for action. Many Ryobi leaf blower handle adjustment issues can be fixed without any special tools. Let me walk you through a simple process that has saved me time and money.
Step 1: Power off and inspect the handle
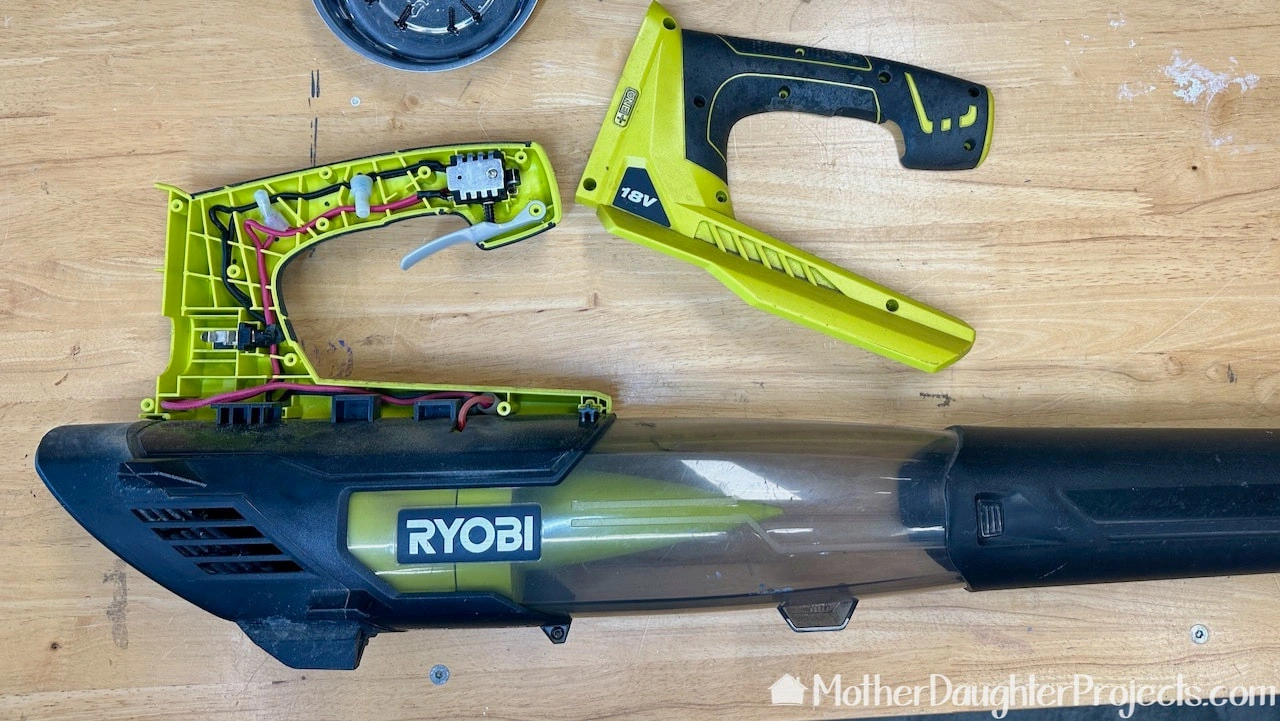
Initially, turn off your leaf blower completely. For electric models, remove the battery or unplug the power cord. Examine the handle area closely, looking for visible damage, cracks, or stripped plastic components. Pay special attention to the adjustment knob and its connection point.
Step 2: Locate the adjustment bolt or knob
On most Ryobi models, there’s a plastic adjustment knob on one side that you can unscrew. On the opposite side, you’ll notice a bolt visible through a hole. This connection is often where the problem occurs, as the plastic that holds the bolt in place can break or the threads might strip.
Step 3: Realign the handle manually
Although the handle might seem stuck, you can often reposition it with a bit of force. Grab the end of the handle firmly and lift it with deliberate pressure until it moves into your desired position. You might feel resistance as the internal teeth try to grab onto each other.
Step 4: Tighten by hand using the built-in mechanism
Once you’ve positioned the handle, try tightening the knob clockwise (righty-tighty). The goal is to get the square edges at the bottom of the bolt to lock into the corresponding square hole on the opposite side. This might take several rotations before it feels secure.
Step 5: Test for stability
After tightening, gently test the handle by applying moderate pressure in different directions. If it holds in place, you’ve successfully fixed the issue. Remember that this solution might be temporary if the plastic components are significantly damaged, yet it’s often enough to get you through your yard work.
This quick fix works because many Ryobi leaf blower issues stem from metal-to-plastic connections, where the plastic eventually fails and can no longer properly grip the metal.
What If the Fix Doesn’t Work?
Sometimes the basic fix doesn’t resolve your Ryobi leaf blower handle adjustment issues. In these cases, more targeted approaches may be necessary.
Check for internal damage or stripped threads.
If manual tightening failed, inspect the bolt and its housing more thoroughly. Remove the plastic knob completely and examine the bolt head for damage. Often, the square-shaped bolt end becomes rounded over time, preventing it from properly gripping the housing.
In fact, closely look at the plastic threading inside the handle assembly. Stripped threads are a common issue after years of use, making it impossible for the adjustment mechanism to hold securely, no matter how tightly you turn the knob.
Try the hotel key card hack.
For a clever temporary solution, fold an old plastic card (like an expired hotel key or gift card) and insert it between the handle components. This simple trick creates additional friction, temporarily stabilizing the connection points.
Under these circumstances, position the card where the handle meets the blower body. The added thickness forces the parts together more tightly, often providing enough stability to finish your yard work.
When to consider replacing the handle
Unfortunately, there comes a point when repairs are no longer viable. Consider replacement when:
- The plastic housing has visible cracks or breaks.
- You’ve attempted multiple fixes with diminishing results.
- The handle adjustment mechanism fails immediately after temporary fixes are applied.
- Your Ryobi leaf blower troubleshooting indicates more serious internal damage.
Purchasing genuine Ryobi leaf blower parts ensures proper fit and function. While aftermarket options exist, they may not match the durability of original components. Most Ryobi blower issues not working with the handles can be resolved with the right replacement part, restoring your tool to like-new condition without purchasing an entirely new unit.
Finding the Right Replacement Handle
When replacement becomes necessary, identifying the correct parts for your Ryobi leaf blower handle adjustment requires specific information. Let me guide you through this process.
How to find your Ryobi model number
The model number is located on the data plate of your leaf blower, typically found on the bottom or side of the unit. It appears as an alphanumeric series in the lower left of this plate, with “Model” printed in bold white letters directly underneath.
Every Ryobi tool ships with either a user manual or a repair sheet, which also contains this essential information.
Where to buy genuine Ryobi leaf blower parts
Primarily, Ryobi offers replacement parts through their official online store at ryobipower.ordertree.com. Moreover, authorized retailers, such as Home Depot’s appliance repair section, carry genuine Ryobi components. For specific OEM parts, websites like eReplacementParts sell authentic Ryobi components at prices that vary by model.
Tips for matching parts to your model
First, enter your complete model number into the search fields without additional identifiers that might cause errors. Remember that certain model numbers may include letters that need to be removed for successful searches. Additionally, examining illustrated parts diagrams can help identify the exact components needed.
Avoiding common Ryobi leaf blower issues
Ryobi blowers contain built-in safety features that prevent operation when components aren’t properly secured. Accordingly, ensure replacement parts match precisely to avoid ongoing issues with sudden shutdowns. Above all, check that replacement handles include proper tube-locking mechanisms, as loose connections commonly trigger safety lockouts.
Conclusion
Dealing with a broken Ryobi leaf blower handle adjustment doesn’t necessarily mean rushing to buy a replacement. Most issues stem from simple mechanical problems that you can fix at home within minutes. My no-tools approach offers a practical solution that saves both time and money compared to purchasing replacement parts, which can cost upwards of $50.
The quick-fix method works effectively for most models with wobbly or unstable handles. Though some cases might require a clever hotel keycard hack or eventually a replacement part, trying these simple solutions first makes sense for any homeowner. Your leaf blower can regain full functionality with just a few minutes of attention.
Remember that proper handle positioning remains crucial for maintaining control during operation, especially with powerful models. A stable handle prevents fatigue and ensures you can direct airflow precisely where needed across your yard.