A Ryobi leaf blower won’t start because of stale fuel, a clogged carburetor, a dirty spark plug, or a blocked air filter. Fix the issue by replacing old fuel, cleaning the carburetor, inspecting the spark plug gap, and clearing debris from the air intake. These steps resolve most no-start problems.
Start with the Basics
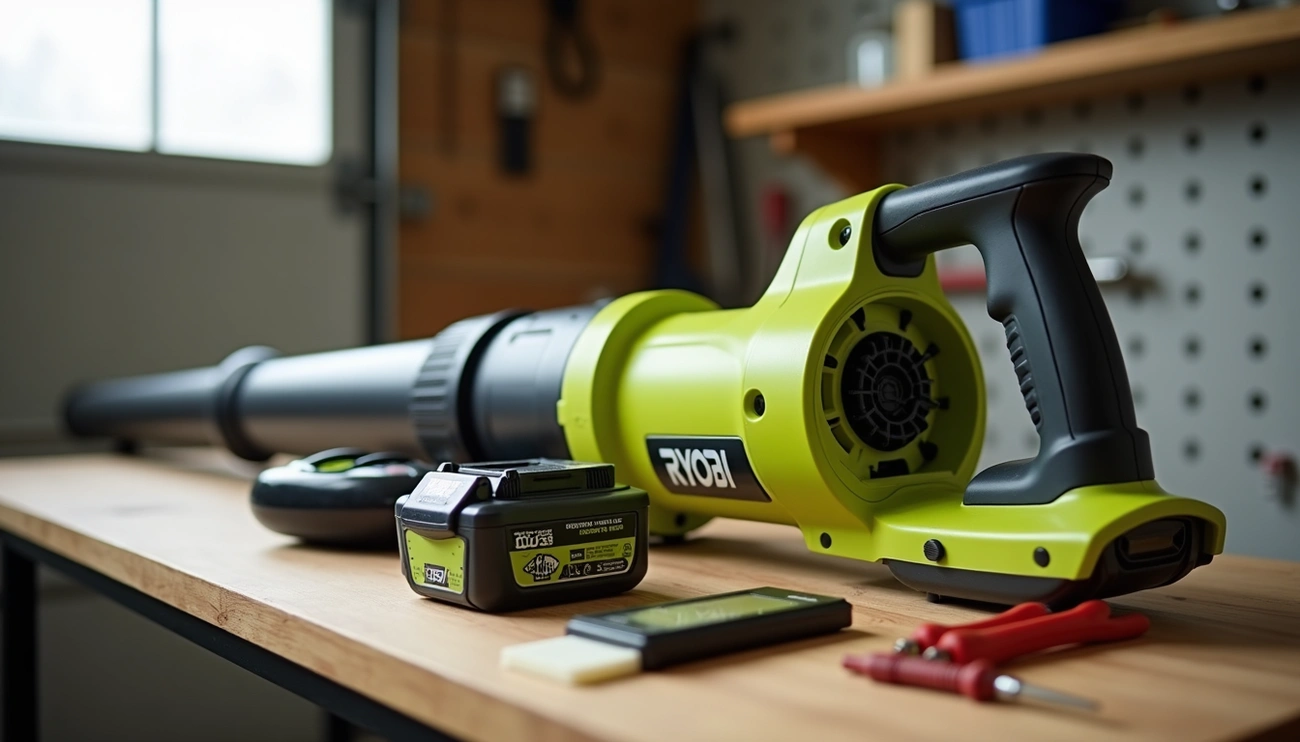
Before diving into complex repairs, let’s examine some fundamental issues that might be causing your Ryobi leaf blower problems. These simple checks often reveal easy-to-fix issues that can get your equipment running again quickly.
Check the fuel level and freshness.
For gas-powered Ryobi blowers, fuel issues are often the culprit when your device won’t start. First, verify there’s actually fuel in the tank. Additionally, consider when you last replaced the fuel—stale gasoline loses its volatility after just 30 days, which can significantly affect engine ignition.
If your blower has been sitting unused with fuel inside:
- Drain all old fuel from the tank.
- Replace the fuel filter if it shows signs of debris or clogging.
- Refill with fresh fuel mixed at the proper ratio (typically 50:1 for two-stroke engines)
- Consider adding a fuel stabilizer to extend your fuel’s shelf life by up to 12 months.
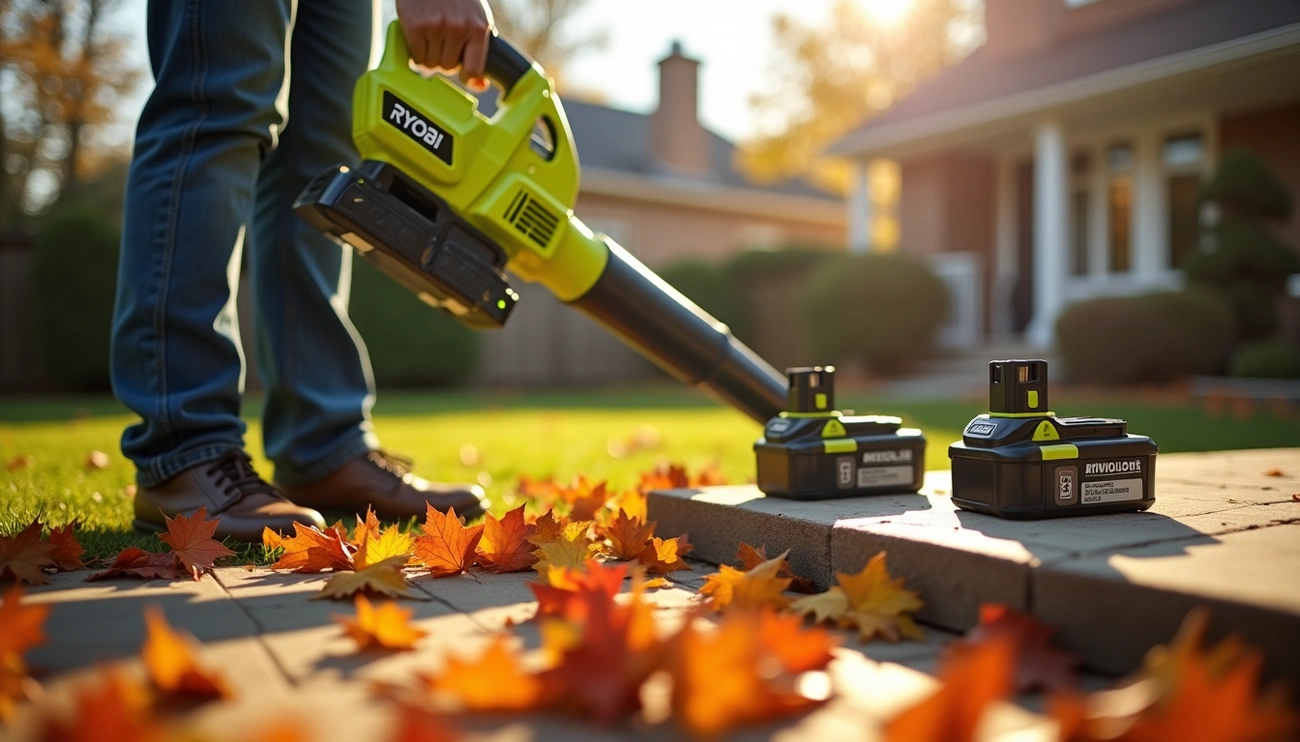
For battery-powered models, ensure your battery shows at least one solid bar on its fuel gauge. A flashing single bar indicates the battery is fully discharged and needs recharging.
Inspect the on/off switch and throttle trigger.
Switch malfunctions are another common reason for startup failures. Over time, the trigger mechanism can become intermittent or completely non-functional. To troubleshoot:
- Check that the on/off switch is properly set to the “on” position.
- Test the throttle for sticking or resistance.
- Disconnect and reinsert the battery on electric models to ensure proper seating
- For electric models with persistent issues, test your battery in another Ryobi tool to determine if the battery or the blower is at fault.
Look for obvious damage or loose parts.
A visual inspection can reveal issues preventing proper operation:
- Examine fuel lines for cracks, holes, or disconnections.
- Make sure the fuel filter is properly connected to the line inside the tank.
- For electric blowers/vacuums, verify the tube is correctly assembled—most models have safety systems that prevent startup if it is improperly attached.
- Check for debris or obstructions in the impeller fan that could trigger protective shutdowns.
- Inspect for any visible damage to the housing or engine components.
For backpack or handheld models with detachable tubes, ensure all connections are secure and locking mechanisms are fully engaged.
Fuel System Troubleshooting
Fuel delivery issues often lie at the heart of Ryobi leaf blower starting problems. Once you’ve checked the basics, it’s time to investigate the fuel system more thoroughly to pinpoint why your Ryobi blower won’t start.
Inspect and replace fuel lines if needed.
Over time, fuel lines deteriorate, especially those exposed to ethanol-based fuels, which can make the lines brittle. Carefully examine all fuel lines for cracks, particularly where they connect to the carburetor or tank. Furthermore, check for any visible damage along the entire length of the lines.
If your inspection reveals damaged lines, purchase a replacement kit specifically designed for Ryobi models. Consequently, you’ll need to:
- Disconnect the damaged lines carefully.
- Cut replacement lines at a 45-degree angle for easier installation.
- Feed the new line through the tank until it emerges from the fuel filler port.
- Pull enough line through to attach the filter, then position it at the tank’s lowest point.
Check the fuel filter for clogs.
A clogged fuel filter can prevent your engine from receiving adequate fuel. Initially, locate the filter inside the fuel tank—it should be attached to the end of the fuel line. If you notice debris on the filter or if it appears discoloured, it needs to be replaced.
Make sure fuel lines are connected correctly.
Incorrect fuel line connections remain a common cause of Ryobi leaf blower problems. The longest line (sometimes smaller in diameter) should run from the carburetor to the tank bottom with enough slack for the filter to rest comfortably. Meanwhile, the second line should extend from the primer bulb about an inch into the tank.
Likewise, verify the primer bulb connections—the short end typically connects to the carburetor while the long end connects to the fuel tank.
Purge air from the system.
Air bubbles trapped in fuel lines can prevent proper startup. To purge air:
- Press the primer bulb slowly several times until you see fuel flowing through the clear return line.
- Ensure the primer bulb fills completely with fuel without air bubbles.
- Check that the carburetor is properly oriented—fuel lines should typically exit from the bottom, not the top.
Addressing these fuel system issues often resolves most starting problems with Ryobi leaf blowers.
Ignition and Spark Issues
When fuel system checks don’t solve your Ryobi leaf blower starting issues, ignition problems are often the culprit. A properly functioning spark is essential for engine combustion.
Test for spark using a spark checker
If your Ryobi blower won’t start, first verify whether it’s generating sufficient spark:
- Remove the spark plug while keeping it connected to the plug wire.
- Place the metal part against the engine cylinder to ground it.
- Pull the starter cord and look for a strong blue spark between the electrodes.
No visible spark indicates an ignition system problem that requires further investigation.
Inspect and replace the spark plug.
Examine your spark plug closely for:
- Cracked porcelain insulator
- Burned or damaged electrodes
- Heavy carbon buildup
For Ryobi two-cycle engines, use a compatible spark plug, such as the Champion RCJ4. When installing a new plug, set the gap to 0.020″ for optimal performance.
Check the ignition coil and boot.
The ignition coil sends voltage to your spark plug. If you’ve confirmed the plug is good but still have no spark, test the coil’s resistance with a multimeter. A properly functioning Ryobi ignition coil should read between 2.5 and 5.0 K ohms.
Moreover, ensure the kill switch wire is properly connected to the spade on your ignition module. Alternatively, temporarily disconnect the kill switch to isolate it as a potential cause.
Set the correct air gap for the coil.
The gap between the flywheel magnets and the ignition coil must be precisely 0.10″. To set this correctly:
- Loosen the coil mounting screws.
- Insert a business card or thin plastic gage (0.10″) between the coil and flywheel.
- Allow the magnets to pull the coil to the proper distance.
- Tighten the screws while maintaining the gap.
Carburetor and Airflow Fixes
Carburetor problems and restricted airflow represent the most common causes of persistent starting issues in Ryobi leaf blowers. Once you’ve ruled out fuel and ignition problems, focus on these critical components.
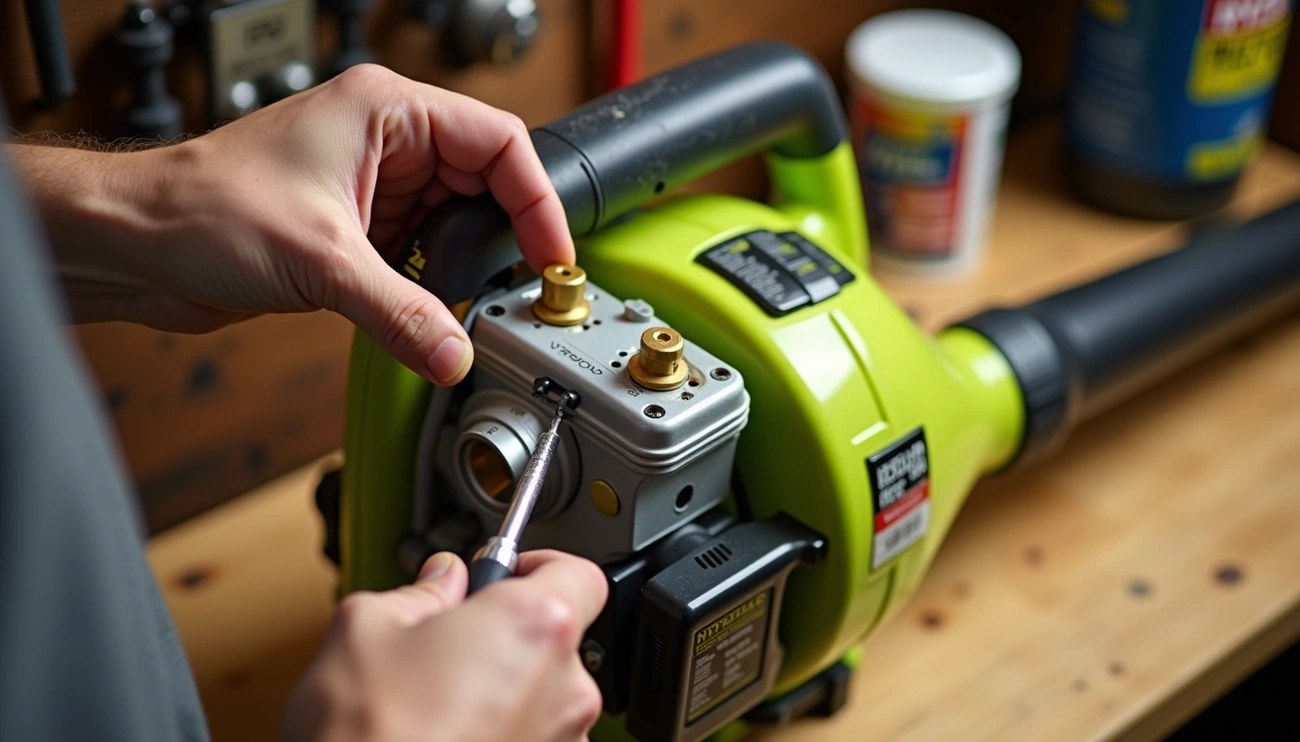
Clean or replace the carburetor
A clogged carburetor typically results from leaving fuel in the blower for extended periods. As gasoline ages, some components evaporate, leaving behind a sticky residue that clogs fuel passages. To clean your carburetor:
- Remove the air filter and disconnect fuel lines.
- Disassemble the carburetor carefully.
- Apply carburetor-specific cleaner to prevent component damage.
- Clean passages using fishing line or specialized tools
- Reassemble precisely, ensuring gaskets are correctly positioned.
If cleaning doesn’t solve the issue, consider a full rebuild or replacement.
Adjust high and low speed screws.
Improper carburetor adjustments often cause Ryobi blowers to run only on choke or bog down when accelerating. Many Ryobi carburetors have “Pac-Man”- style anti-tamper screws that require special tools. For initial settings:
- Set the idle screw to 3/4 turn out.
- Set the main jet to 1.5 turns out.
- Fine-tune while the engine runs for optimal performance
Check the air filter and muffler screen.
A clogged air filter restricts airflow, causing the engine to receive too much fuel and insufficient air. Similarly, carbon deposits on the muffler’s spark arrestor screen seriously impact performance. Remove and clean this screen, especially if your blower operates at less than full throttle, as oil in the gas mixture can cause carbon buildup.
Replace the metering diaphragm if needed.
The carburetor diaphragm can stiffen over time, leading to improper fuel regulation. During carburetor rebuilding, inspect both gaskets and diaphragms on each side and replace any that appear rigid or damaged.
Test for vacuum leaks around the cylinder
Occasionally, engines exhibit starting problems due to air leaks around gaskets. Check for proper sealing between the carburetor and engine block. Small leaks disrupt the precise air-fuel mixture needed for starting and consistent operation.
Conclusion
Dealing with a Ryobi leaf blower that won’t start can be frustrating. However, as we’ve seen throughout this troubleshooting guide, most issues stem from a few common sources that you can address yourself. Fuel system problems often cause starting failures; therefore, checking for stale gas, damaged fuel lines, and clogged filters should always be your first step.
Additionally, ignition issues such as faulty spark plugs or improperly gapped coils often prevent engines from firing. The carburetor, though slightly more complex, remains another fixable component for most homeowners willing to learn basic maintenance skills.
Regular maintenance is the best preventive measure against future starting problems. Draining fuel before storage, replacing worn parts promptly, and keeping air filters clean will significantly extend your blower’s lifespan.